Minutes - Building the Settings Page
In the previous post, I had talked about the Quantified Self and how I started working on an app for that. I had shown the bottom navigation with the following five screens on the homepage:
- History
- Dash
- Track
- People
- Settings
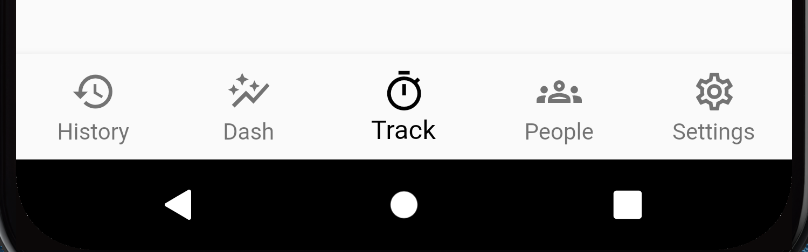
The screens did not contain any content. Tapping on each icon just switched to that screen (as the gif at the end of the previous post showed).
I had decided to work on the Tracker page as it is the primary function of the app. After reading my previous post, Nikhil wanted to help me out with the app. So we started working on the tracker screen together. He created a simple tracker card. I added on top of it. But soon, we were getting a lot of merge conflicts while rebasing our git branches. So I decided to work on the Settings screen while Nikhil finishes his part on the tracker screen. I will talk about the trackers when we have completed the first draft of it.
In this post, I will discuss the Settings screen.
Minutes - Settings
I had a completely blank Settings screen. Since I was replicating the Settings page of Nomie, I knew various toggles and setting options I wanted to add to Minutes. I googled for a tutorial to get started and instead found Settings UI for Flutter package. This package has abstracted out everything and provided me with SettingsList, SettingsSection, SettingsTile, and CustomSection classes to build the page.
The SettingsList combines various SettingsSection widgets, which further contains many SettingsTile widgets. If there is something you can not do using SettingsSection, you also have CustomSection using which you can build anything your creative mind comes up with.
The documentation for the package is non-existent. There is only the sample flutter app in its Github repo which gets you started. I still had to get into the package code in search of a few options for SettingsTile.
Using the Package
It needs to be added to the pubspec.yaml under the dependencies as follows:
dependencies:
  settings_ui: ^1.0.0
When you save this file, the Dart vscode extension installs it and adds it to the pubspec.lock. After installing the package, I imported it like any other library.
import 'package:settings_ui/settings_ui.dart';
Settings Sections
I followed the sample example to build the working settings page for me and then added all the settings related to Minutes. These settings belong to the following sections:
- Tracking: Settings related to trackers reside here.
- Locale: Settings like 24 hr clock or week start day.
- Security: Enabling fingerprint unlocking or locking app in the background
- Notifications: Various settings related to notifications
- Storage: locations where you can store the tracking data - local, Dropbox, Google Drive, Remove server, etc.
- Import Data: Things related to importing data in Minutes
- Export Data: How to export data from Minutes
- Usage Stats: App usage stats. This section might move to the Dash screen later.
- Danger Zone: Deleting all the data
These nine sections will likely evolve into something else as we will develop the app further.
Currently, I have defined all the sections in a single dart file. I wanted to put each one in a separate file and then use it directly in the main file, but I couldn’t make it work. So that is a to-do for me as a part of code refactoring in future.
Adding Image Assets to the App
In the sample example app from the settings-ui package, there is an image displayed at the footer. I wanted to add it to my Settings page as well. No matter what I did, it was not working. Code always threw an exception as it was not able to find the image. After spending 5 minutes on it, I searched for including image assets in a Flutter app. It turns out I needed to add the image assets to the pubspec.yaml under the assets. Here is how to do it:
  assets:
    - assets/settings.png
Dark/Light Theme
While searching for refactoring the sections code, I found a snippet where the author added the Dark/Light theme support to their app. I hadn’t even looked for it before because I thought it would take a lot of time to add that support. Surprisingly, it was just a short piece of code change that did the whole thing. In the main.dart file, within the MaterialApp, I had to add the following part:
      theme: ThemeData(
        brightness: Brightness.light,
      ),
      darkTheme: ThemeData(
        brightness: Brightness.dark,
      ),
The complete Minutes main app widget looks like this:
class Minutes extends StatelessWidget {
  static const String _title = 'Minutes';

  @override
  Widget build(BuildContext context) {
    return MaterialApp(
      title: _title,
      theme: ThemeData(
        brightness: Brightness.light,
      ),
      darkTheme: ThemeData(
        brightness: Brightness.dark,
      ),
      home: Home(),
    );
  }
}
Conclusion
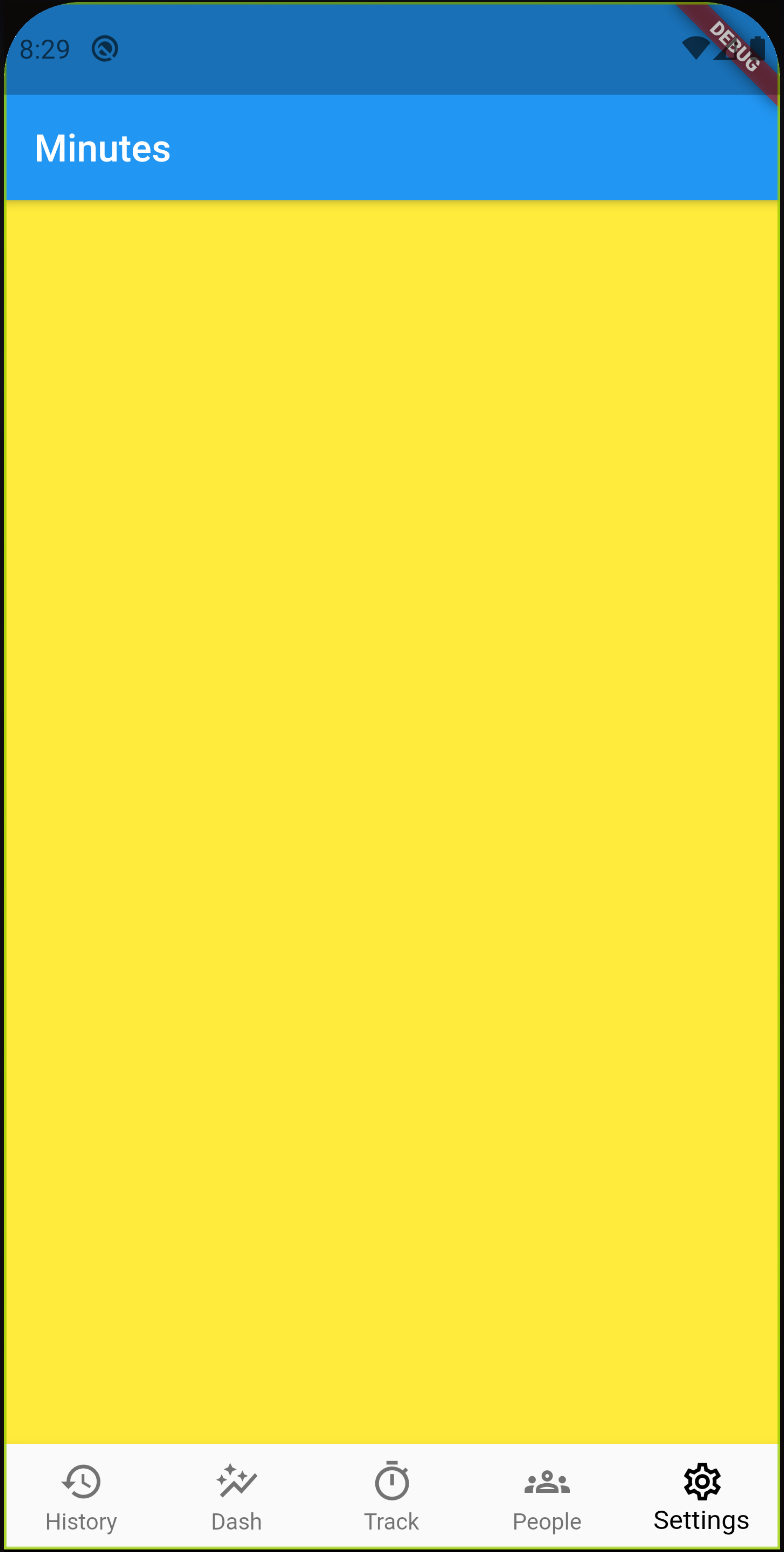
In quite a short amount of time, the Settings page went from looking all yellow to what you see in the below gif.
Nikhil should be close to completing his part on the tracker page. So next time we should hopefully look at the tracker page.