Wordcloud
Okay, here goes. As the name suggests this app deals with wordclouds. More specifically, you can generate a wordcloud out of text and then manipulate it to some degree. Ohh, also you can download the png of wordcloud and a csv with frequency of words in your text. This was made to learn shiny and to see how wordclouds can be made in R. I am not really attached to “wordcloud” but it did make a good idea to learn shiny.
Also, this is my app. There are a lot of wordcloud apps (Wordle, TagCrowd, …) out there like it, but this one is mine.
To try out this app online you can go to: wordcloud
To try it out offline just run the following code in an R console,
1 # Inside R console
2 # install.packages(c("shiny", "wordcloud", "tm", "SnowballC"))
3 library(shiny)
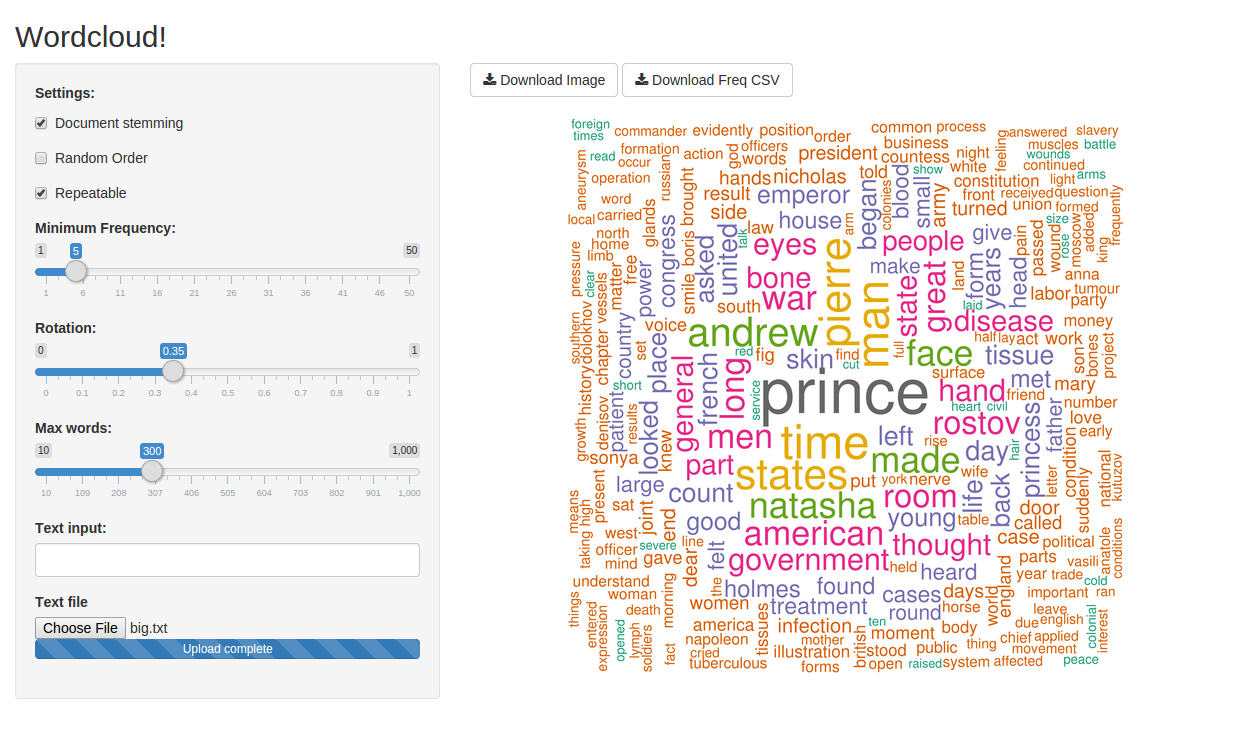
4 runGist("bd0fb5a568b8227487ee")Here’s how it’ll look when running.
Now, let’s talk about the code. The basics you would probably know - the concept of ui.R and server.R (if not and want to know, then head to tutorial). Check out the code by running, git clone https://gist.github.com/bd0fb5a568b8227487ee wordcloud. I am not going to document the whole process here. R Studio has done a pretty good job. I’ll explain the key parts of the code along the way as user enters the text and a graph being presented on the app.
Input Data
I have just shown the major part of the reactive element where the data is saved in the variable and updated as and when user changes the input. That’s how reactive elements work.
Here, I have given the preference to text-box. if both text in text-box and the text file are provided then the preference will be given to the text-box. And, input$text (line 3) contains the text entered in the text box. If a text file is provided then R creates a temp directory like /tmp/RtmpF4ao7y which will contain the uploaded text file. The input$file$datapath (line 6) will contain the path of the file which is named “0” by R, but we need to get the directory which contains the file as an input to the DirSource() function of wordcloud package. Thus, the directory is extracted as shown in line 7 in the below displayed code.
 1 datainput <- reactive({
 2   if (nchar(input$text) > 0){
 3     words <- Corpus(VectorSource(input$text))
 4   }
 5   else if (!is.null(input$file)){
 6     a <- input$file$datapath
 7     a <- substr(a, 1, nchar(a) - 1)
 8     words <- Corpus(DirSource(a))
 9   }
10 })
Checkbox Action
After the input is given a wordcloud will be generated based on default values. To make the effect of checkbox visible just after clicking it, the reactive element contains the following if condition. The input$checkbox3 contains the boolean value of the selection of checkbox. Thus, directly using it works. Line 3 is there so that null is not returned (this little statement took me 1 hour to correct).
1 finalinput <- reactive({
2   if (input$checkbox3) datainput <- tm_map(datainput(), stemDocument)
3   datainput()
4   })
Repeatable wordcloud
Repeatable makes the wordcloud repeatable, duh!! Okay, seriously, it does make it repeatable, that is, whatever changes you make to it (increasing the number of words, lowest frequency to be considered, etc) will add-up (or subtract-down?) the initial plot made by R. Other than this explanation this part is similar to the previous one, that is, how a checkbox input is used.
1 asdas <- reactive({
2   if (input$checkbox2) wordcloud_rep <- repeatable(wordcloud)
3   else wordcloud_rep <- wordcloud
4 })
Image rendering
Image rendering is handled by the renderImage() function which saves the list in output$wordcloud which when accessed by imageOutput() literally translates to <img src="/path/to/image/" alt="Image being generated!" height=600> tag. The reactive element make_cloud() returns the name of png file in which the wordcloud is saved.
1 output$wordcloud <- renderImage({
2   list(src=make_cloud(), alt="Image being generated!", height=600)
3 },
4 deleteFile = FALSE)
Downloads
The downloadHandler() handles the downloading of outputs. It takes filename and a function which returns the content as input. The image download part was somewhat tricky for me, i’ll explain that later. The file.copy() function gets the image filename by make_cloud() and write it to the temp file object.
Same thing happens in the downloading of csv file, except instead of using file.copy(), write.csv() was used which takes in a table and a file object. Frequency of words in the text is handled by lines 10 & 11. Once we got that, remaining part was trivial.
This marks the end of the major parts of the server.R. I think, I have explained the whole thing to you. One last thing remains now. The difficulty part.
 1 output$wordcloud_img <- downloadHandler(
 2   filename = "wordcloud.png",
 3   content = function(cloud) {
 4     file.copy(make_cloud(), cloud)
 5   })
 6
 7 output$freq_csv <- downloadHandler(
 8   filename = "freq.csv",
 9   content = function(freq) {
10     a <- DocumentTermMatrix(finalinput())
11     b <- sort(colSums(as.matrix(a)), decreasing=TRUE)
12     write.csv(b, freq)
13   })
The Difficulty
First, was getting the plots to be downloaded. Both these questions helped me - StackOverflow ques & Google group question (was asked by me). Initially, I was using renderPlot() in place of renderImage() and thus, I was generating the wordcloud inside that rendering element. But, to download, I would have to develop the wordcloud again in the downloadHandler() call. Then, I made a different reactive element which was generating the plot but not saving the same in that call. This made the renderPlot() call to run perfectly but downloadHandler() returned a null image. Finally, saving the image in that reactive element and returning the filename ran successfully.
Second, was to get the saved image in high resolution. I was working in pixels but this email thread specified the units in inches. This, made the png() function to return images with good resolution.
Phew!! Man, I thought this post was going to be small and will be over in a jiffy. It tool some real time. But, it has finished now. Have fun. Of course more shiny apps will be developed and updated to this site. Stay tuned.